
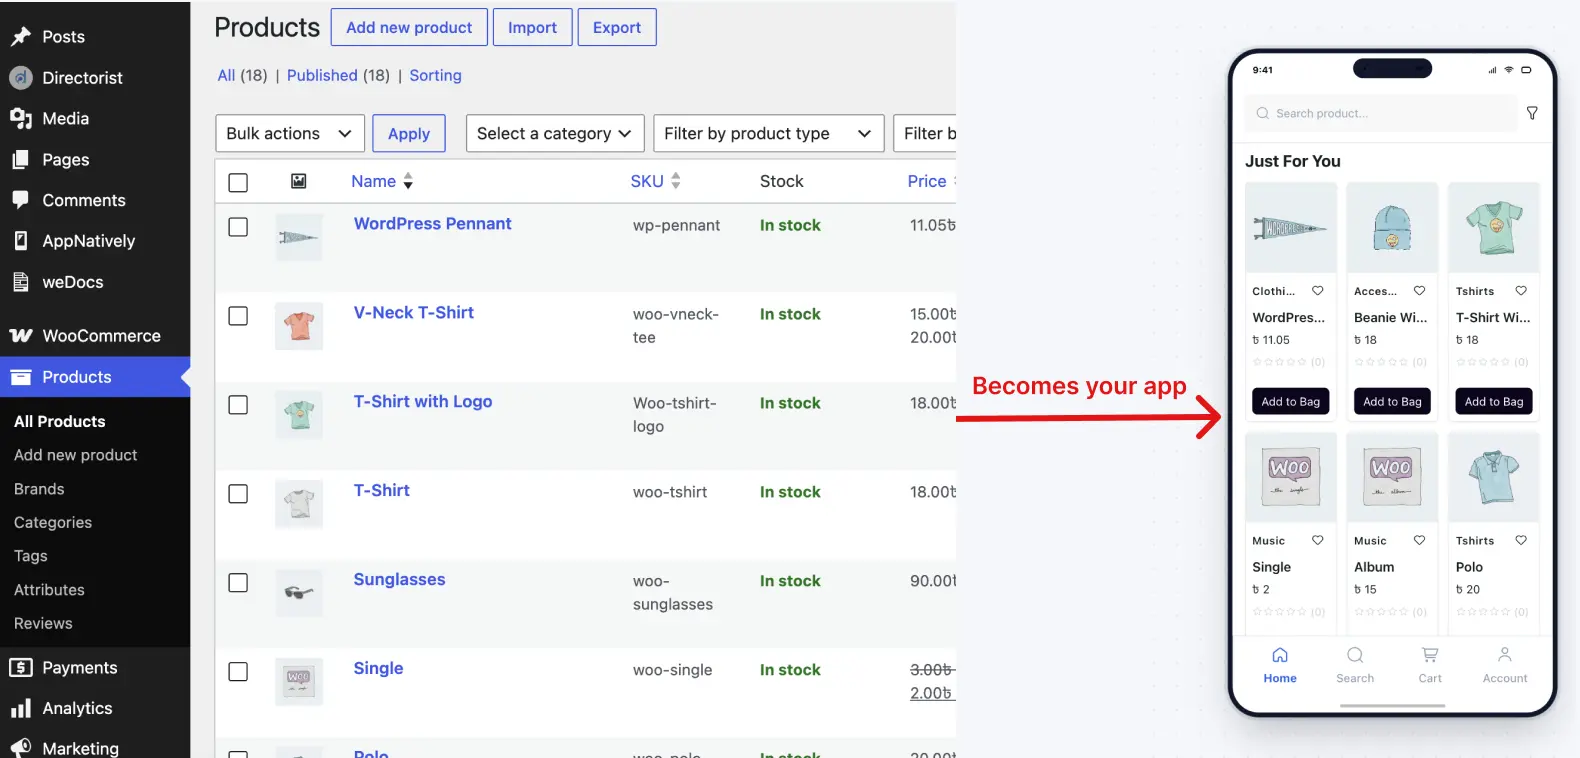
If you already run a store or site on WordPress, you’ve done the hard part. AppNatively takes what you’ve already built and turns it into a real, installable mobile app for iOS and Android – without writing a line of code.
Who this is for
AppNatively is built for people running an online store, directory, or booking business who want a mobile app but don’t have a development team. If you can describe what you want in plain language, you can build it here.
What you can actually do with it
- Connect your existing site. Point AppNatively at your WordPress store, and your products, content, and structure become the foundation of your app.
- Design your app visually. Use the App Editor to lay out screens, menus, and navigation by hand, or connect an AI assistant like Claude or ChatGPT and describe what you want – it builds the screens in your draft while you watch.
- Publish changes instantly. Most changes you make go live to everyone using your app the moment you publish – no waiting on an app store review.
- Send push notifications. Reach the people who’ve installed your app directly, right on their lock screen.
- Get listed on the App Store and Google Play. When you’re ready, AppNatively packages your app and takes it through the submission process for both stores.
How the pieces fit together
Think of it as a straight line, even though you can always circle back to adjust something:
- Create your app and tell AppNatively a bit about it.
- Connect your website – this is what your app actually shows to your users.
- Design it in the App Editor – screens, navigation, header, colors, and branding.
- Set up your icon and splash screen so it looks like a real app on a home screen.
- Get your store accounts and signing credentials in place, then build it.
- Submit to the App Store and Google Play.
- Keep it alive – publish updates any time, and send push notifications to bring people back.
Each of those steps has its own doc later in this Help Center. For now, the only thing to do is create your first app.