
Appnatively
Appnatively
Knowledge Base
Go to Studio
Knowledge Base
Go to Studio
Getting Started
Welcome to AppNativelyCreate your first appFinding your way around the Studio dashboard
Website Connection
Connect your website to AppNativelyInstall and update the required pluginChoose which plugins power your app“Website Not Connected” – what it means and how to clear itFix a failing or dropped connection
App Editor
Build your app with AI chatWrite prompts that get the screen you wantUndo an AI change you don’t wantEdit screens and components by handManage your app’s pagesDesign your headerDesign your bottom navigationAdd and edit drawersManage your themeHow your changes reach your usersSave vs. Publish – what each one doesWhen a new release is requiredWhen AI gets it wrong
Splash & App Icon
Set your app iconAdd Android Adaptive Icon layersDesign your splash screenRecommended image sizes
Publishing Setup
What you need before your first buildSet your app’s name, slug, and package IDAdd Android credentials and your keystoreAdd iOS certificates and provisioningConnect Google PlayConnect the App StoreSet up Firebase Configuration
Build & Deploy
Connect GitHub before you buildBuild your app – and submit it to the storeFix a failed build
Push Notifications
Create and send a push campaignTrack campaign performanceNotifications aren’t arriving
Integrations
Connect a third-party service

Knowledge Base

Welcome to the AppNatively Help Center. AppNatively turns the WordPress site you already run into a real, installable mobile app for iOS and Android – without writing a line of code. These guides cover the whole journey: creating an app, connecting your website, designing your screens, setting up branding and credentials, getting listed on the App Store and Google Play, and bringing people back once you’re there.
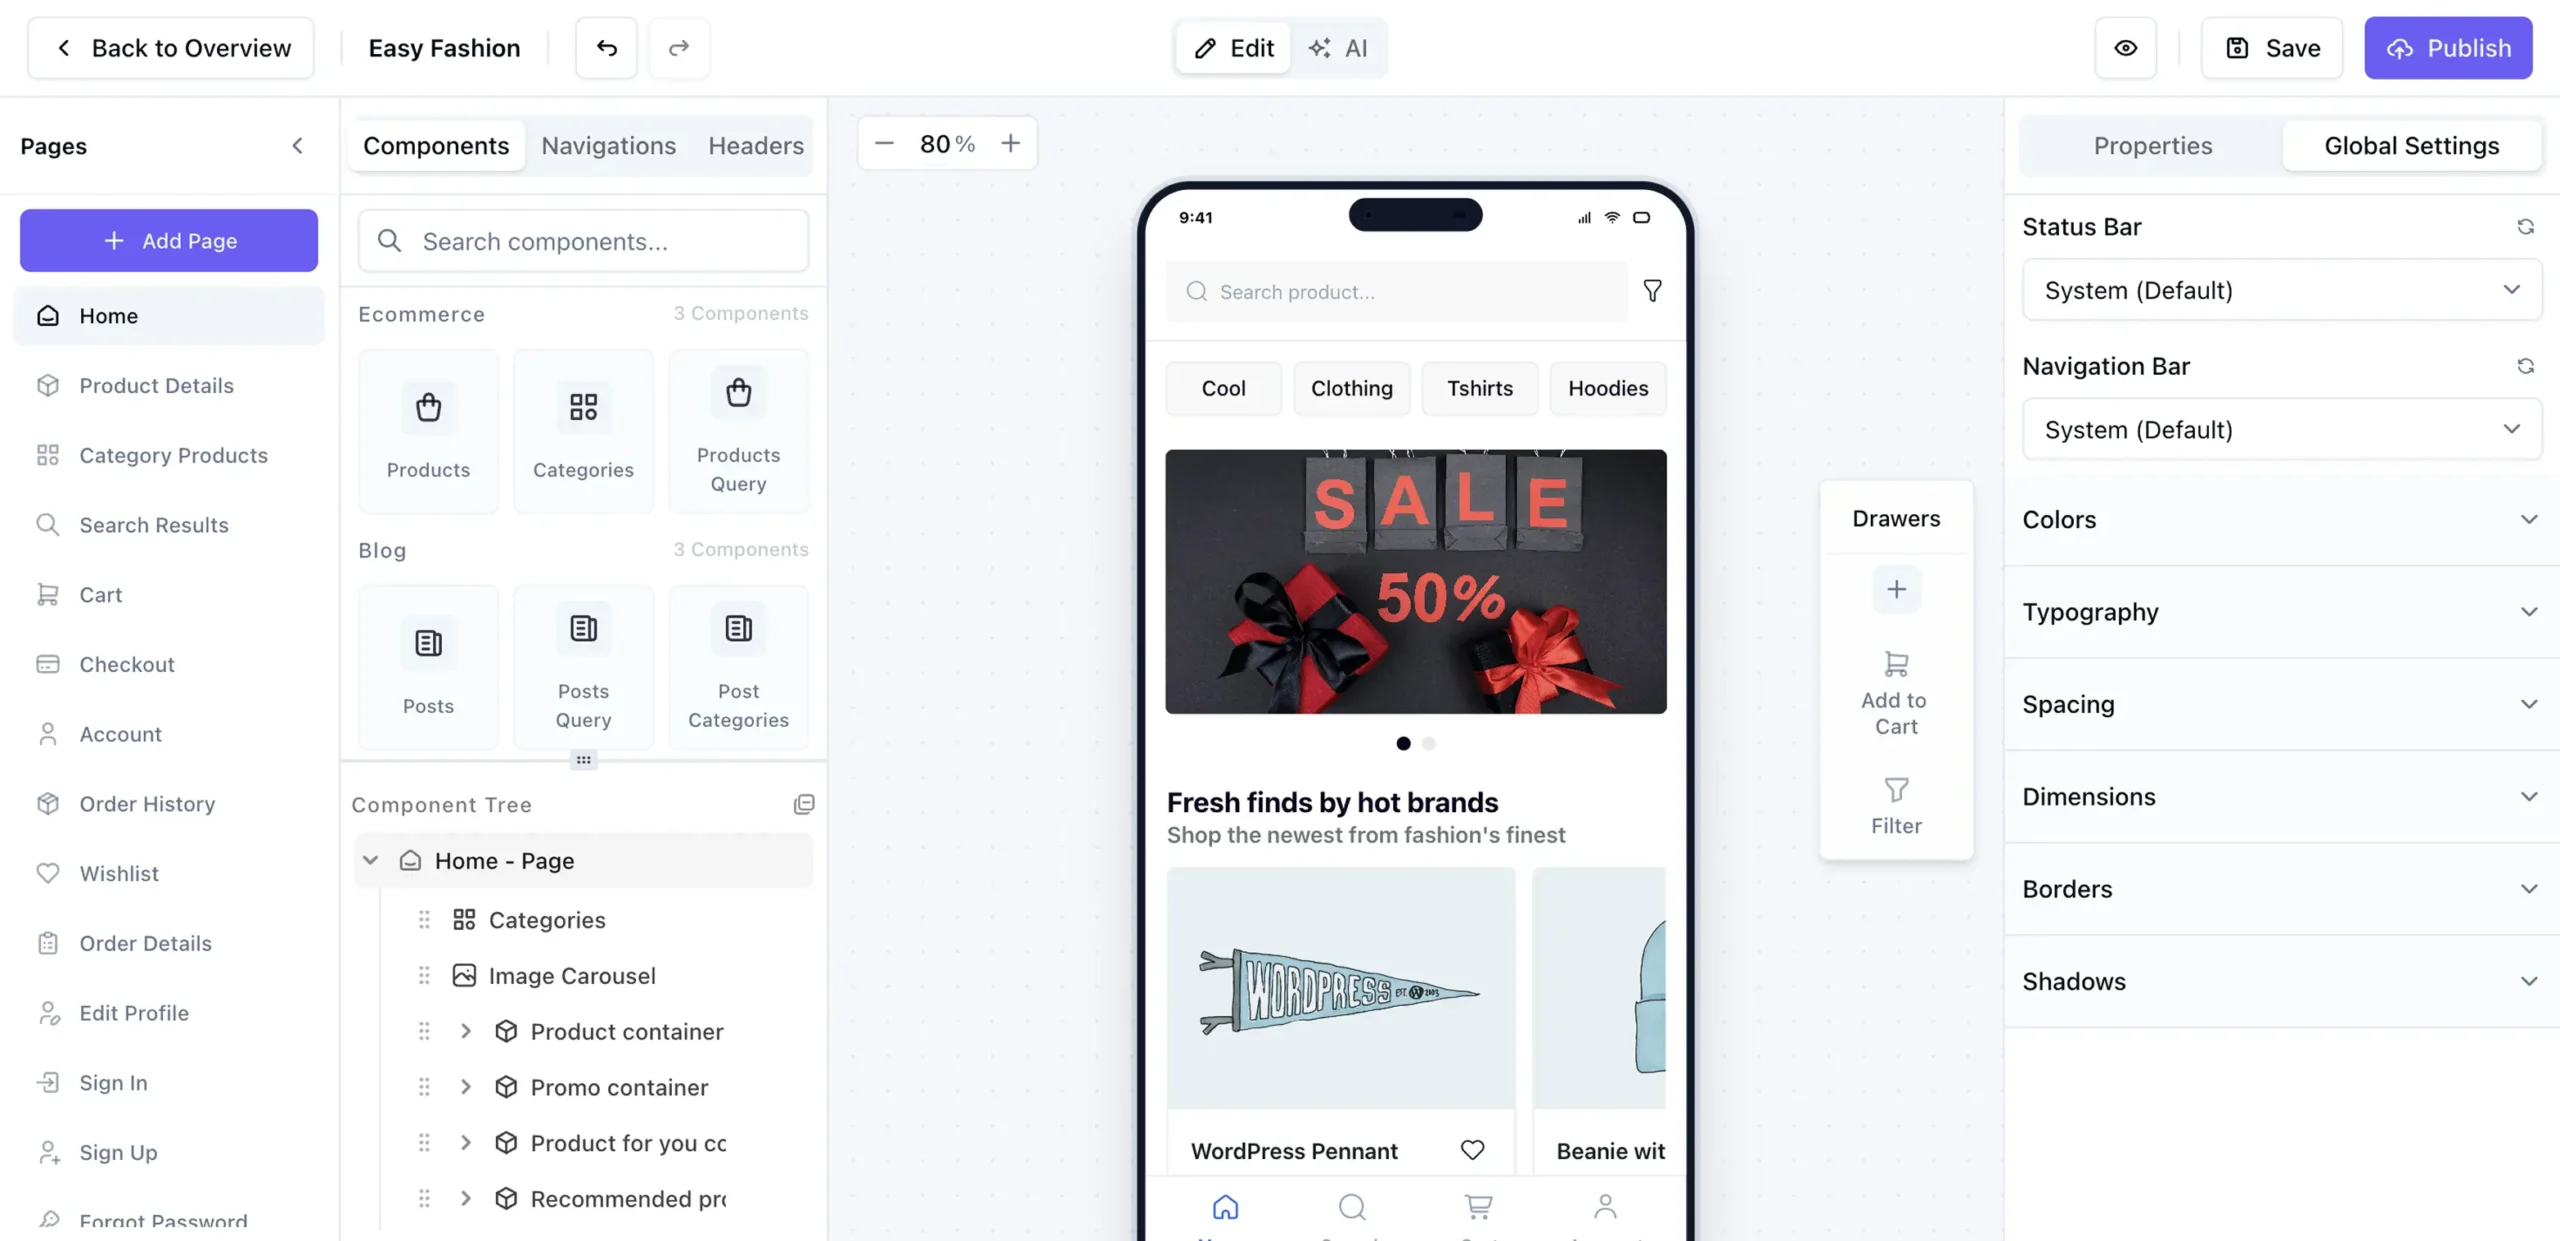
How this Help Center is organized

The categories below run in roughly the order you’ll need them. Getting Started is the entry point, and Website Connection comes next because everything else depends on it – your app pulls its content from your site. With that in place, the App Editor is where you’ll spend most of your time designing screens, and Splash & App Icon handles the branding people see before they open your app.

The next three cover shipping: Publishing Setup is the checklist of credentials and configuration your first build needs, Build & Deploy turns your app into an installable file and submits it, and Push Notifications is how you reach your users afterward. Integrations sits slightly apart – those connections apply to your whole workspace rather than one app.

If you’re new, start at the top and work down. If you’re troubleshooting something specific, search is usually faster than browsing.

FAQ

Getting Started
Was this page helpful?
On this page
How this Help Center is organizedFAQWhat is AppNatively?+Where should I start?+What do I need before I can put my app in the app stores?+