
Appnatively
Appnatively
Knowledge Base
Go to Studio
Knowledge Base
Go to Studio
Getting Started
Welcome to AppNativelyCreate your first appFinding your way around the Studio dashboard
Website Connection
Connect your website to AppNativelyInstall and update the required pluginChoose which plugins power your app“Website Not Connected” – what it means and how to clear itFix a failing or dropped connection
App Editor
Build your app with AI chatWrite prompts that get the screen you wantUndo an AI change you don’t wantEdit screens and components by handManage your app’s pagesDesign your headerDesign your bottom navigationAdd and edit drawersManage your themeHow your changes reach your usersSave vs. Publish – what each one doesWhen a new release is requiredWhen AI gets it wrong
Splash & App Icon
Set your app iconAdd Android Adaptive Icon layersDesign your splash screenRecommended image sizes
Publishing Setup
What you need before your first buildSet your app’s name, slug, and package IDAdd Android credentials and your keystoreAdd iOS certificates and provisioningConnect Google PlayConnect the App StoreSet up Firebase Configuration
Build & Deploy
Connect GitHub before you buildBuild your app – and submit it to the storeFix a failed build
Push Notifications
Create and send a push campaignTrack campaign performanceNotifications aren’t arriving
Integrations
Connect a third-party service

Connect your website to AppNatively

Your app doesn’t have content of its own – it pulls everything from the website you connect here. This is the single most important setup step for a new app, and it’s required before the App Editor will even open.

Before you start

Have your website’s URL ready. That’s the only thing you need in hand before you start.

Steps

1. Go to Website Connection

Open your app, then go to Settings → Website Connection.
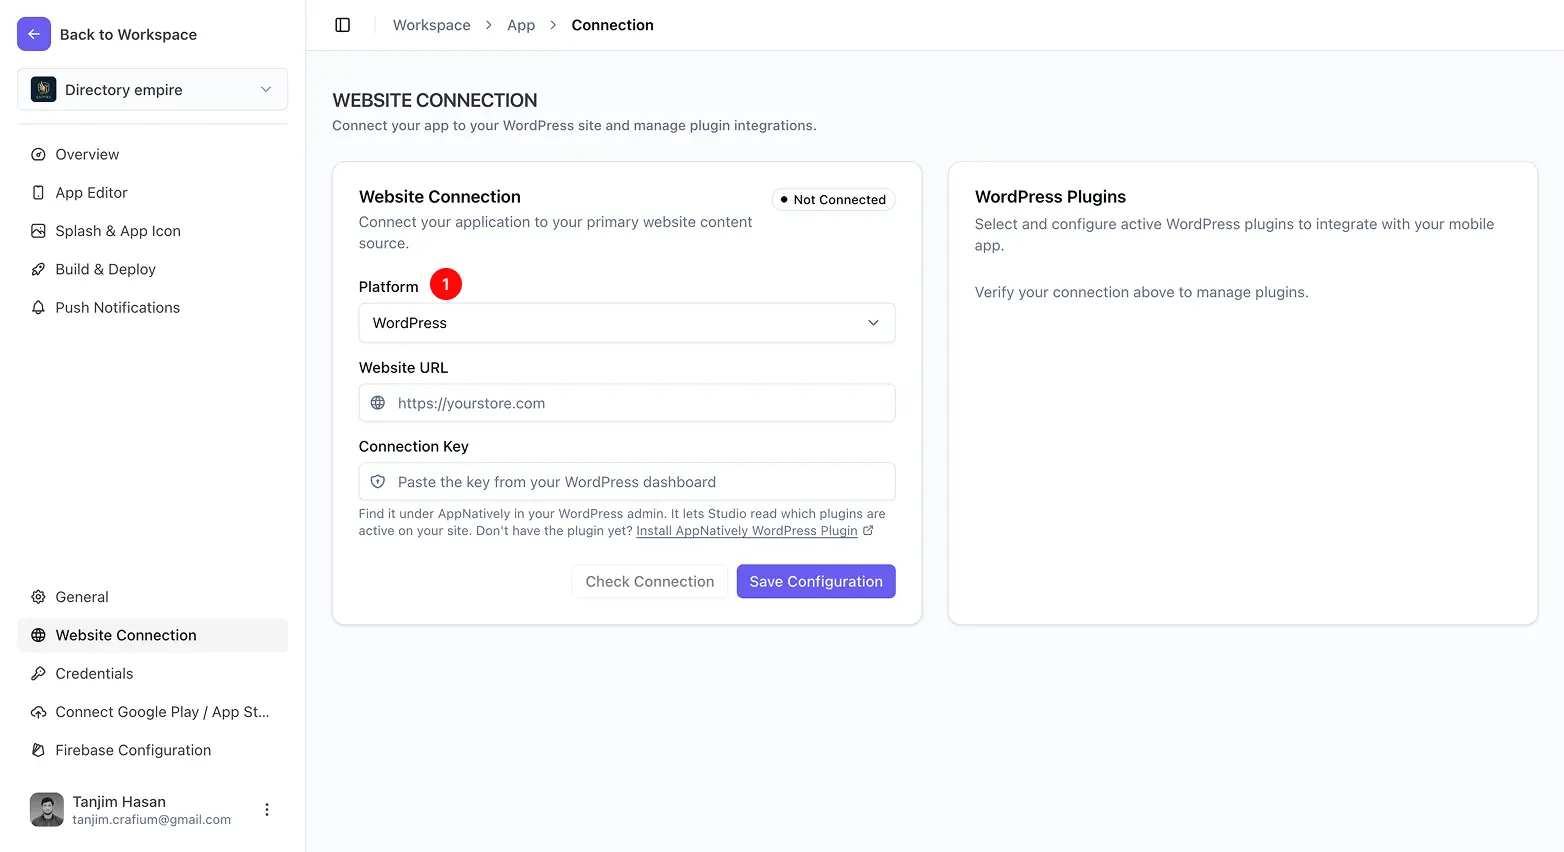
2. Choose your platform

Select WordPress.

3. Enter your site details

Enter your Website URL – your site’s normal web address.
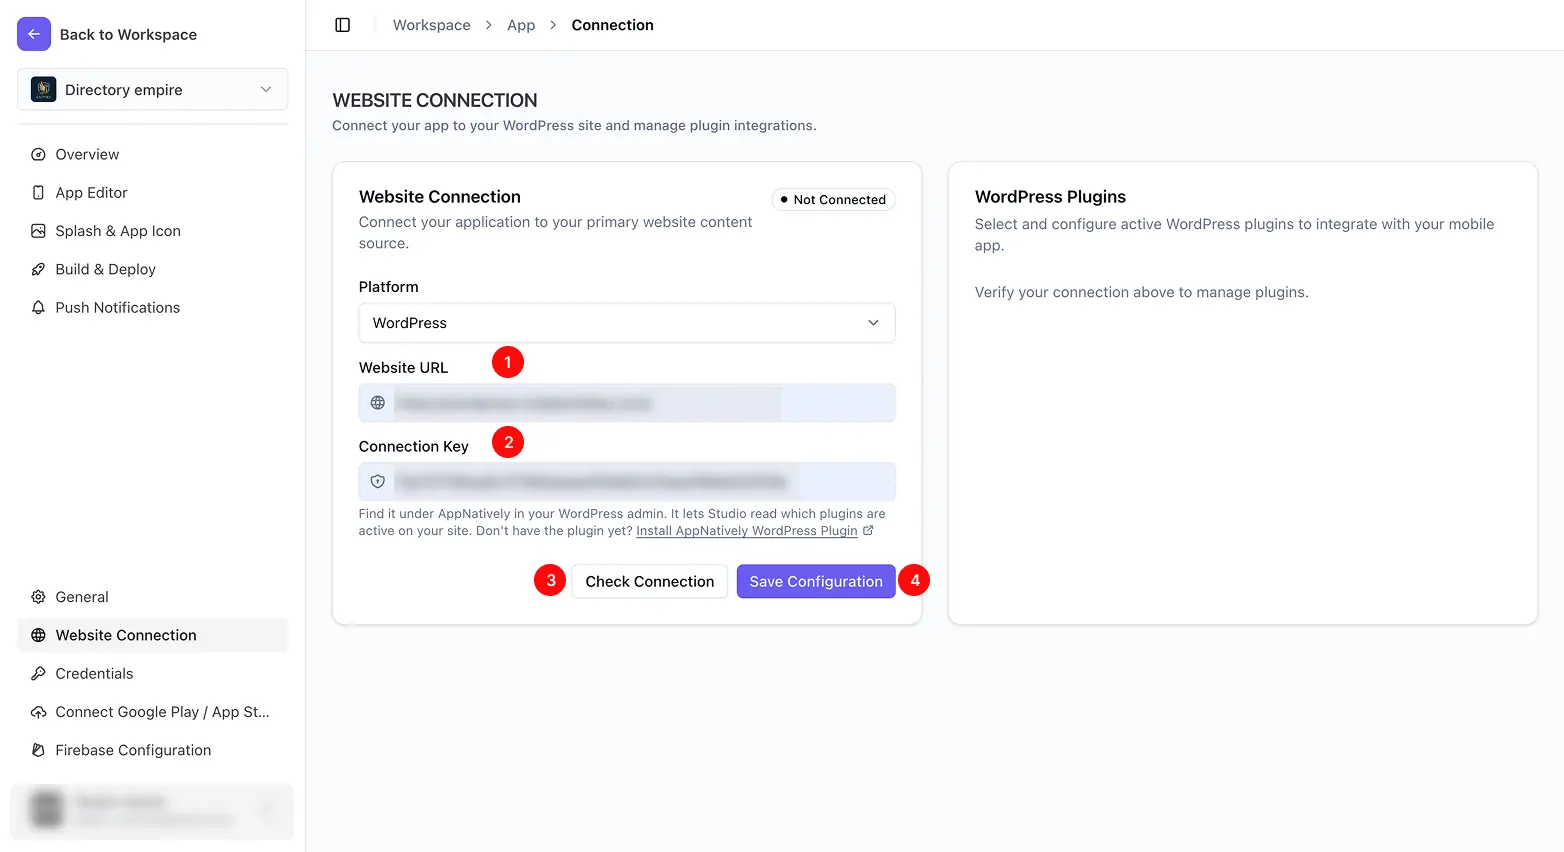
4. Check the connection

Click Check Connection to test what you’ve entered. This doesn’t save anything yet – it’s just a test.

5. Save your configuration

Click Save Configuration to make it official. Saving automatically re-runs the same check, so you don’t need to click both buttons every time.

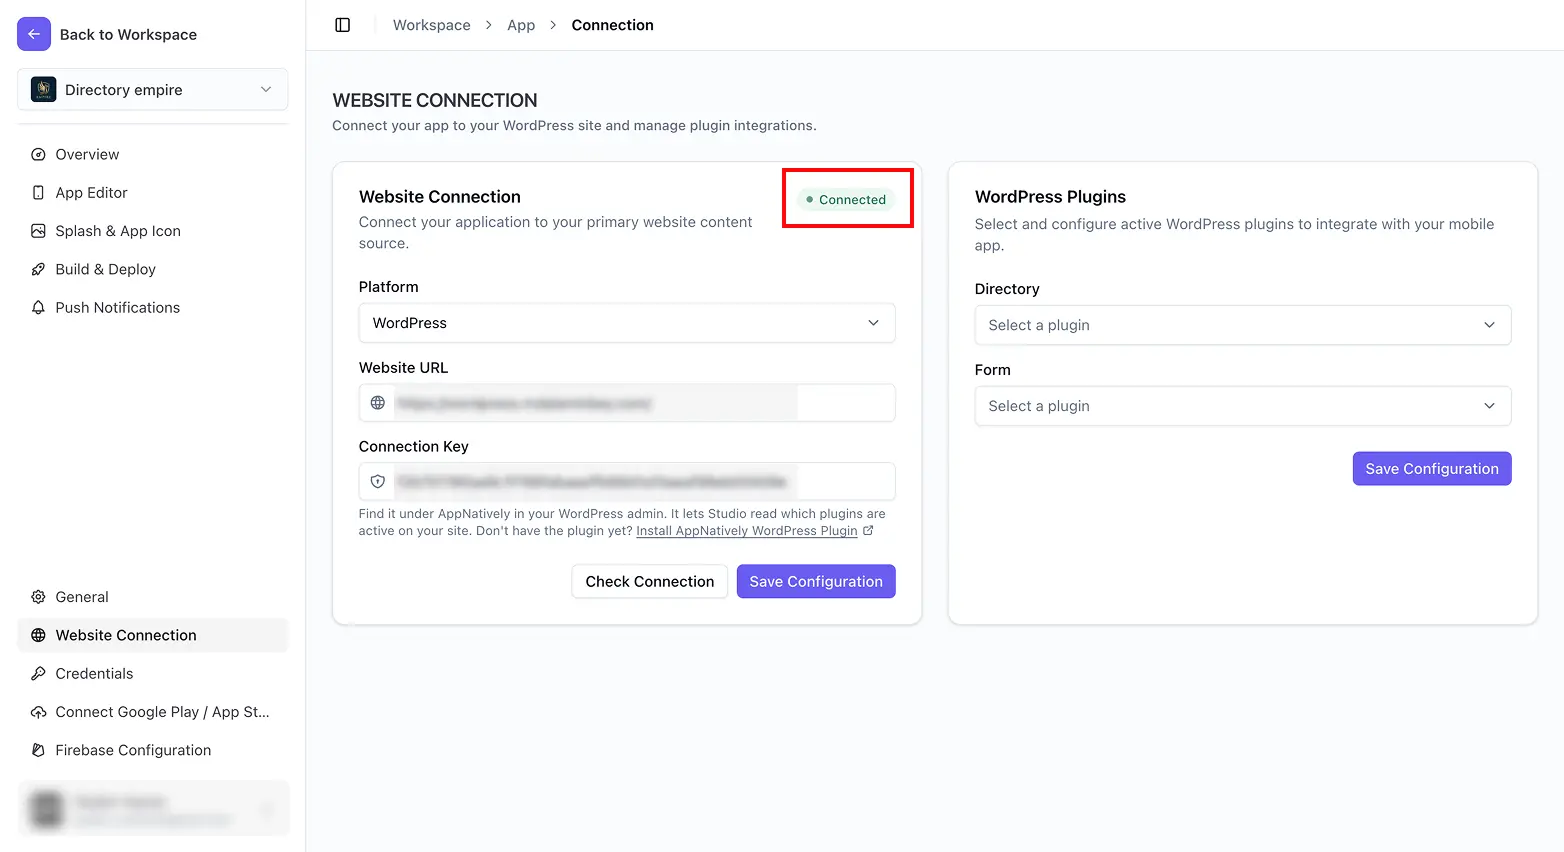
6. Confirm you’re connected

Look for the status badge at the top of the card – it should read “Connected.” If it doesn’t, see Fix a failing or dropped connection.
FAQ

Website Connection
Install and update the required plugin
Was this page helpful?
On this page
Before you startSteps1. Go to Website Connection2. Choose your platform3. Enter your site details4. Check the connection5. Save your configuration6. Confirm you’re connectedFAQDo I need to do anything on my WordPress site first?+Can I change which website my app is connected to later?+