
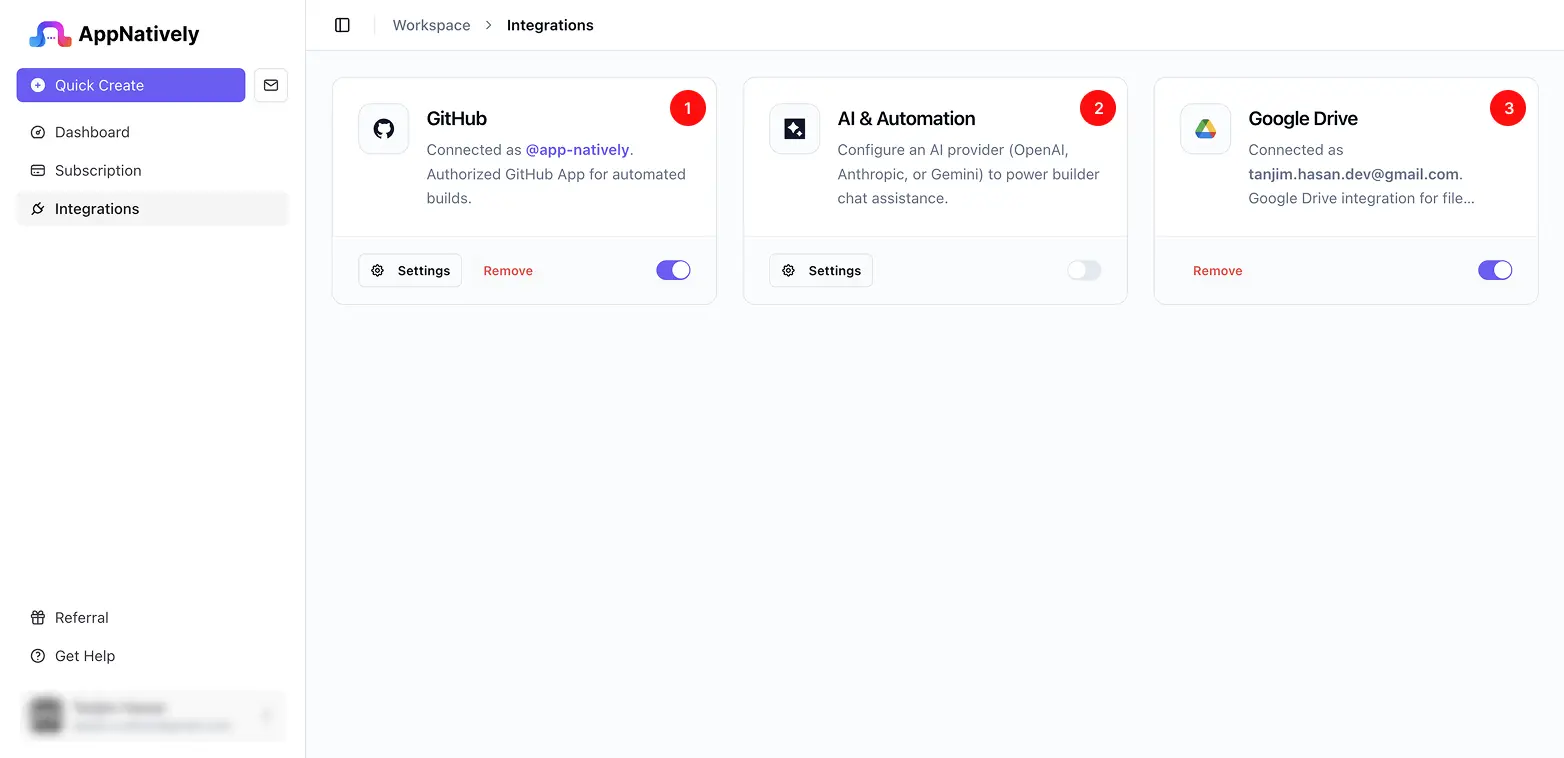
AppNatively has three integrations: GitHub (required to build your app), Google Drive (optional file storage) and the MCP Server (lets AI assistants like Claude and ChatGPT design your app). They apply to your whole workspace, not one app, and you manage them all from the Integrations page.
Steps
1. Go to Integrations
From the main workspace sidebar, go to Integrations.
2. Know what each one unlocks
- GitHub – required before you can trigger any build. See Connect GitHub before you build.
- Google Drive – fully optional, used for file management. Nothing else in AppNatively depends on it.
- MCP Server – lets an AI assistant like Claude, ChatGPT or Cursor design your app’s draft. See What the AppNatively MCP server does.
3. Connect one
For GitHub or Google Drive, turn on the switch at the bottom of its card and sign in with that service.
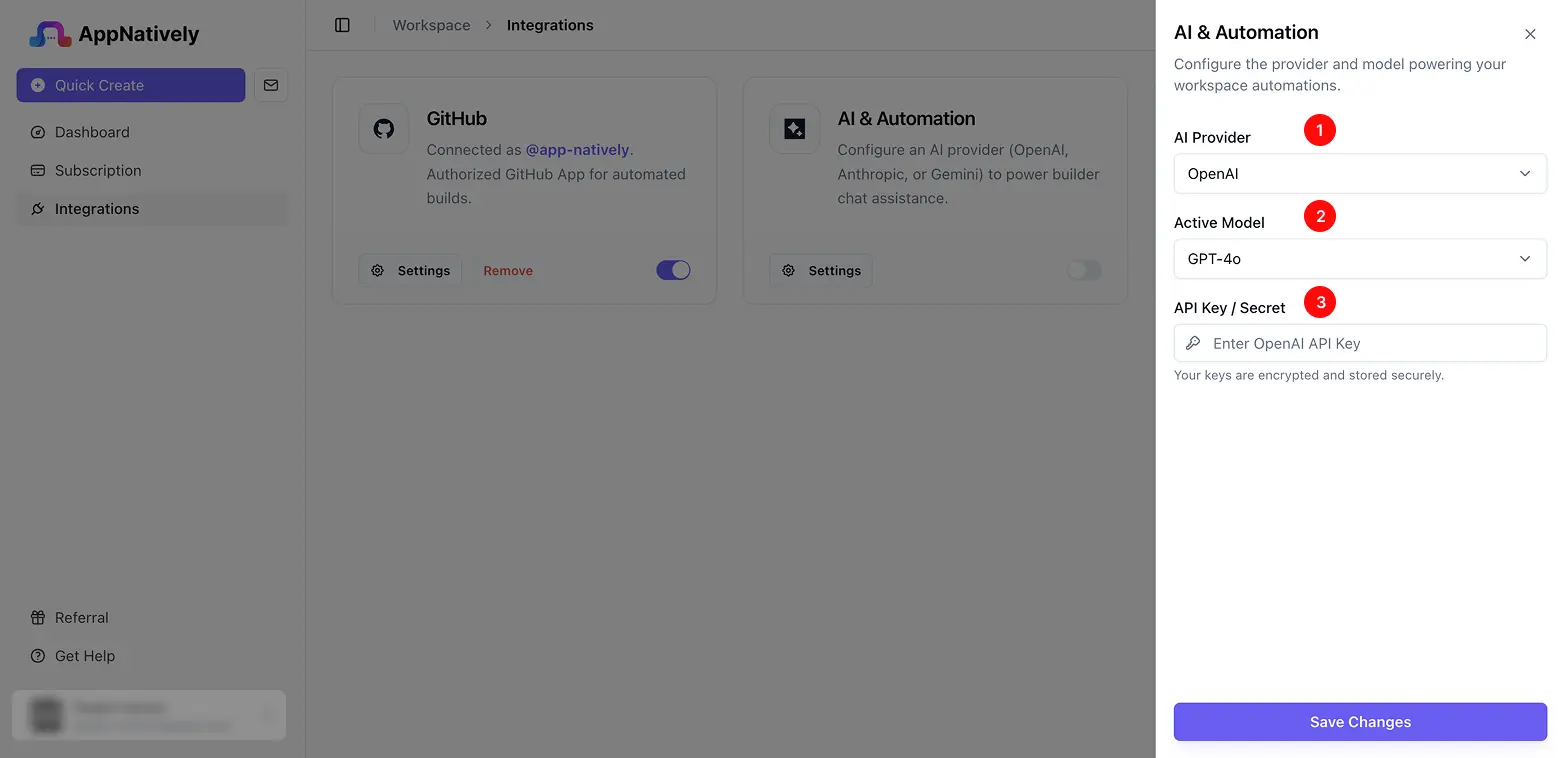
The MCP Server card works the other way round: you connect from inside your AI assistant, not from here. Click Settings on the card to copy the server URL, then follow Connect an AI assistant.
4. Disconnect one if needed
To disconnect GitHub or Google Drive, turn its switch off or click Remove. Doing so immediately turns off whatever it was powering – only disconnect GitHub if you’re prepared for builds to stop working until you reconnect it. AI assistants connected through the MCP Server are disconnected one by one from its Settings panel; see Manage and disconnect AI clients.